Red Eye Risk Assessment Tool for Wedding Photographers
Assess Your Red Eye Risk
Enter your current setup parameters to determine your red eye risk level and get personalized prevention recommendations.
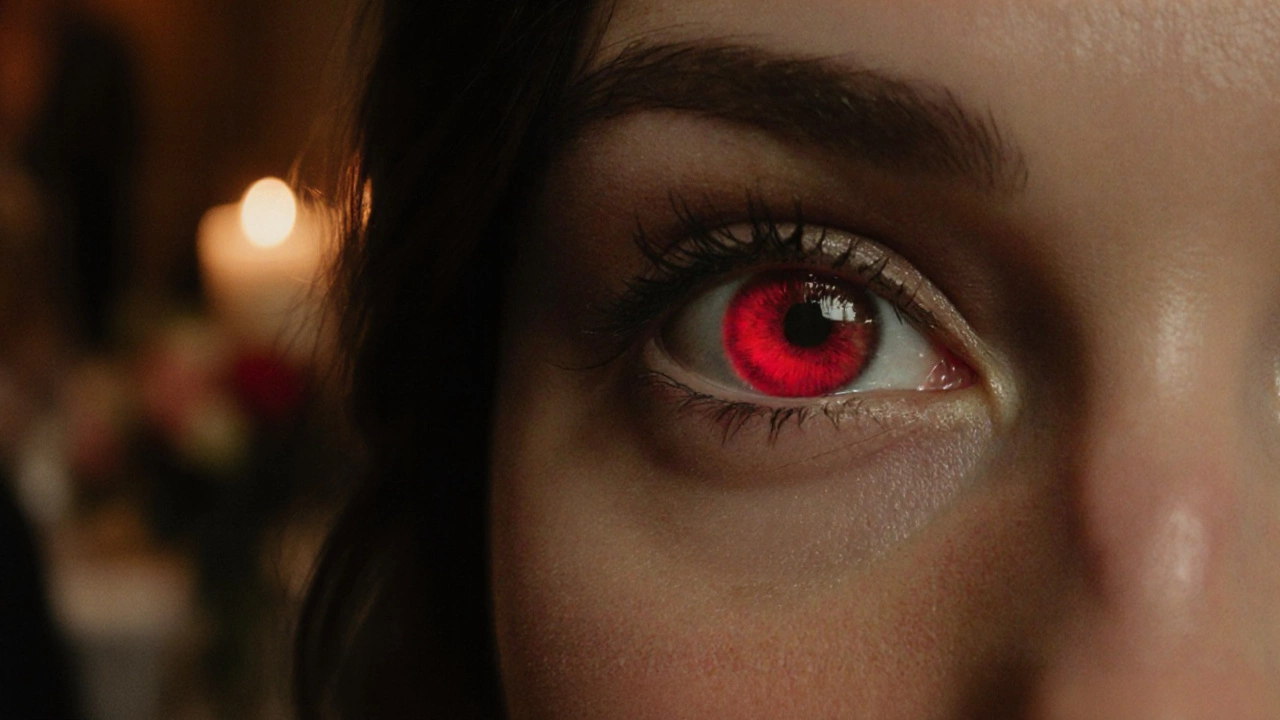
When a red eye effect is the phenomenon where a subject's pupils appear red in photos because flash light reflects off the retina, it can ruin an otherwise beautiful wedding portrait. Photographers often wonder why the effect shows up more on light‑skinned people and what they can do to stop it. The answer lies in a mix of biology, camera hardware, and lighting technique.
What Actually Causes Red Eye?
The eye is a hollow sphere filled with blood‑rich tissue called the retina. When a bright flash hits the eye directly, the light travels through the cornea and pupil, bounces off the retina, and returns straight to the camera sensor. Because the retina is rich in blood vessels, the reflected light shows up as a red glow in the photo.
Two eye components matter most: the pupil (the black opening that lets light in) and the iris (the colored ring that controls pupil size). In low‑light situations the pupil dilates, creating a wider “window” for the flash to enter and for the red reflection to be captured.
Why Light‑Skinned Subjects Are More Prone
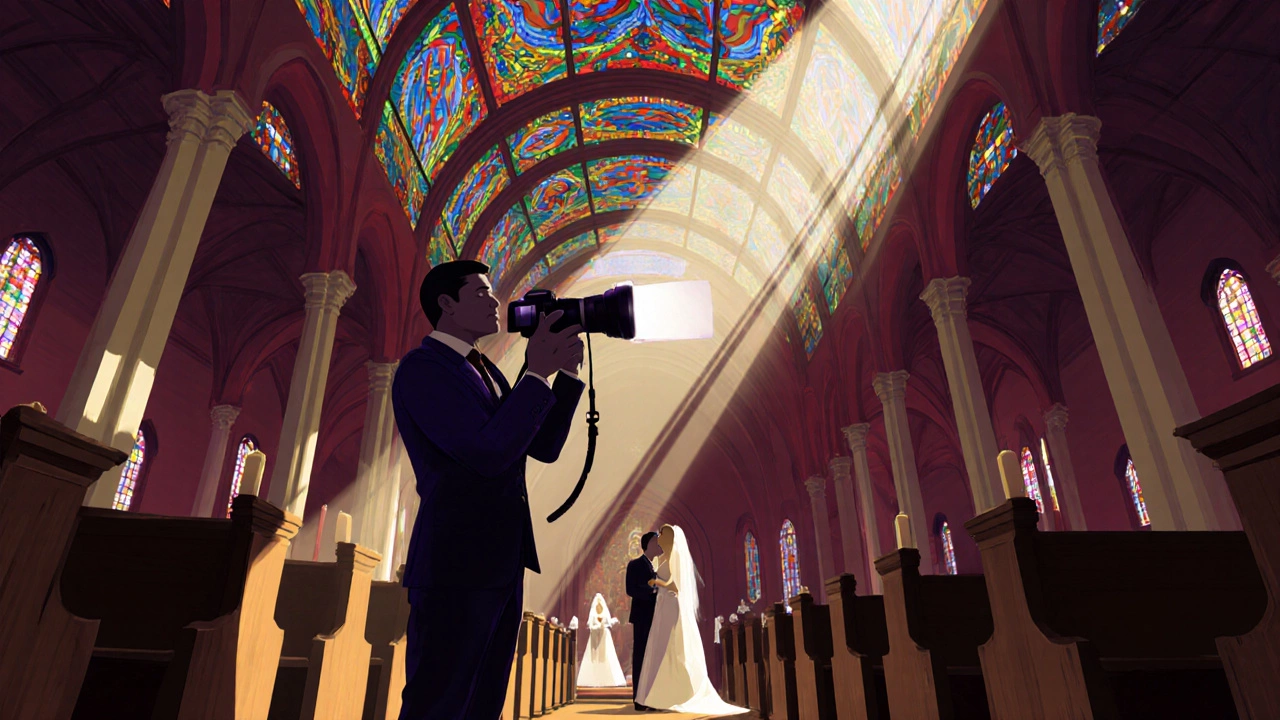
People with lighter skin often have less melanin in the iris, which means the dark part of the eye (the pupil) appears larger against the surrounding color. The contrast makes the red reflection more visible in the final image. Additionally, wedding ceremonies are frequently held in dimly lit venues-receptions with candlelight, churches with stained‑glass windows-so photographers rely heavily on on‑camera flash. The combination of a dilated pupil and a powerful, close flash makes the red eye effect especially common for white guests.
How Wedding Photography Set‑Ups Amplify the Problem
Most wedding photographers use a portable camera flash mounted directly on the camera body. This position places the light source only a few inches from the lens, creating a near‑straight line between flash, eye, and sensor-exactly the geometry that produces red eye. The flash is often set to full power to overcome ambient darkness, which further increases the chance of a red reflection.
Besides the main flash, many photographers add a secondary “fill” flash or use flash brackets. While these tools improve overall exposure, they also add more light sources that can bounce directly into the subjects’ eyes if not positioned carefully.
Preventing Red Eye: Techniques Every Wedding Photographer Should Know
There are several proactive steps you can take before the shutter clicks:
- Red‑eye reduction mode-Most modern cameras emit a series of low‑power pre‑flashes a fraction of a second before the main burst. The pre‑flashes cause the pupils to contract, reducing the size of the reflective window.
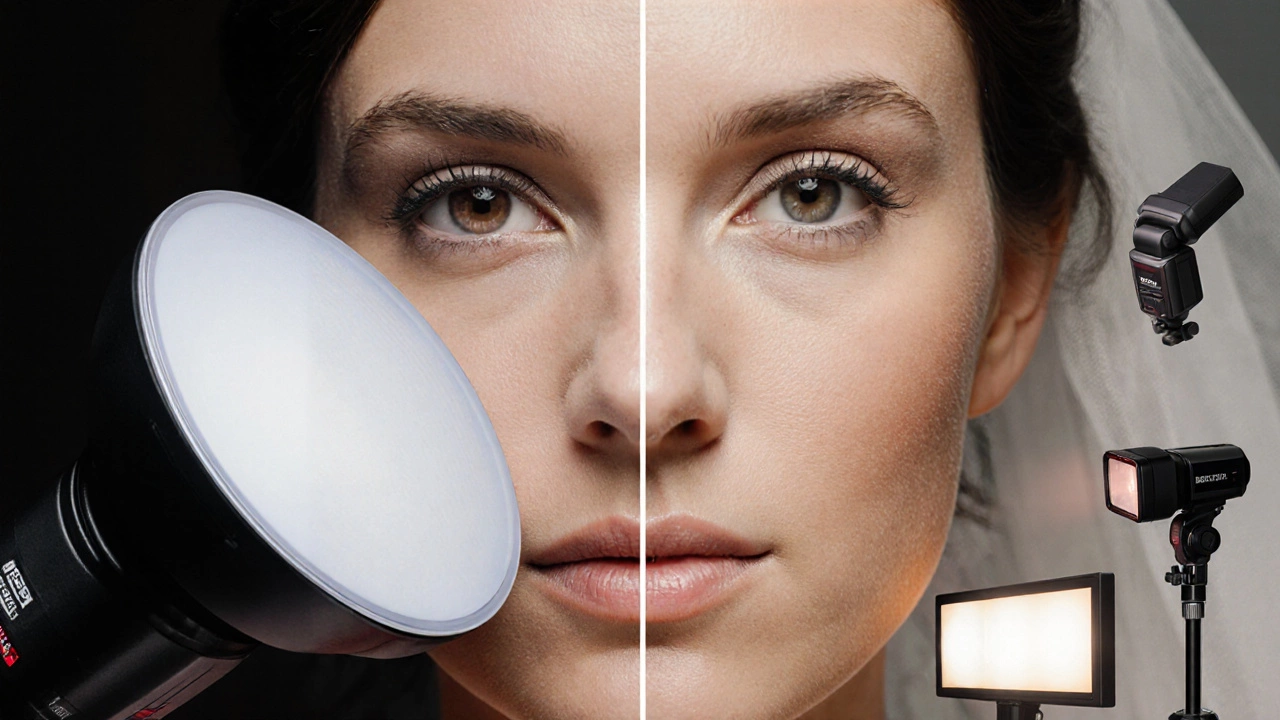
- Bounce flash-Instead of pointing the flash straight at the subject, tilt it toward a ceiling or reflector. The indirect light reaches the eye at a steeper angle, which greatly lessens the red‑eye risk.
- Diffuser-A small white dome or soft‑box placed over the flash scatters the light, softening shadows and decreasing the intensity that hits the eye directly.
- Increase ambient light-Add a few discreet LED panels or open any available windows. More ambient illumination lets you reduce flash power, keeping pupil dilation to a minimum.
- Move the flash away from the lens-Use an off‑camera flash or a flash bracket that raises the light source several inches above the lens axis.
- Ask subjects to look slightly away from the camera-Even a few degrees changes the angle of reflection enough to avoid red eye.
Quick Comparison of Red‑Eye Reduction Methods
| Method | How It Works | Pros | Cons |
|---|---|---|---|
| Pre‑flash (camera setting) | Series of low‑power flashes contract pupils | Easy to enable, works with any flash | Can cause subject blink, increases shutter lag |
| Bounce flash | Flash directed at ceiling/ reflector, indirect light | Natural look, minimal red eye | Needs suitable overhead surface, less control in low ceilings |
| Diffuser | Scatters light, reduces intensity | Soft shadows, lower red‑eye risk | May require higher flash power to maintain exposure |
| Off‑camera flash | Flash positioned away from lens axis | Greatly reduces red eye, creative lighting | Requires extra gear, wireless sync |
Post‑Processing Fixes When Red Eye Slips Through
Even with the best technique, a few red‑eye frames may survive. Modern editing software (Adobe Lightroom, Photoshop, Capture One, or even free tools like GIMP) includes a dedicated red‑eye correction tool. The workflow is simple:
- Select the red‑eye correction brush.
- Click on the red pupil-most programs detect the reflection automatically.
- Fine‑tune the radius and darkness to blend with the natural eye color.
For bulk editing, many programs allow you to apply the correction to a whole batch of images, saving hours during post‑wedding delivery.
Checklist: Red‑Eye‑Free Wedding Portraits
- Enable red‑eye reduction mode on your camera.
- Attach a diffuser or soft‑box to the main flash.
- If venue permits, bounce the flash off a ceiling or wall.
- Consider an off‑camera flash for key moments (first look, cake cutting).
- Increase ambient light with discreet LEDs or open natural light sources.
- Direct subjects to look slightly off‑center.
- Do a quick test shot of a guest before the ceremony starts.
- Keep post‑processing red‑eye correction tools handy.
Frequently Asked Questions
Does wearing colored contacts affect red eye?
Colored contacts can reduce the visible red hue because they add a layer over the iris, but they don’t stop the reflection itself. If the pupil is still large, a faint red ring may appear. Using red‑eye reduction techniques is still recommended.
Why does red eye happen more in indoor weddings than outdoor ones?
Indoor venues are usually darker, causing subjects’ pupils to dilate. The flash is also closer to the lens, creating a direct light path that captures the retinal reflection. Outdoors there’s more ambient light, so the flash can be used at lower power or not at all.
Can I avoid red eye without using any flash?
Yes-if the venue has sufficient ambient light, you can rely on ISO and lens speed instead of a flash. Fast lenses (f/1.4‑f/2.8) and higher ISO settings let you capture sharp images without any direct flash, eliminating red‑eye risk altogether.
Does the type of camera sensor matter?
Modern CMOS sensors are highly sensitive to low light, which can reduce the need for a strong flash. However, the red‑eye phenomenon is about geometry, not sensor type, so the risk remains if a bright, close flash is used.
What’s the fastest way to fix red eye in a batch of wedding photos?
Import the batch into Lightroom, select all images, and click the “Red Eye Correction” button. Lightroom automatically detects and corrects most eyes in one click, then you can fine‑tune any outliers.
Releted Post


Mara Eldridge
I am a wedding services coordinator with a passion for helping couples create memorable celebrations. My expertise lies in sourcing the best venues, vendors, and accessories to bring each couple's vision to life. I enjoy sharing insights and tips on wedding-related topics, aiming to inspire those who are planning their big day. My writing combines practical advice with creative ideas to suit all styles and budgets.
Comments
Post Comment