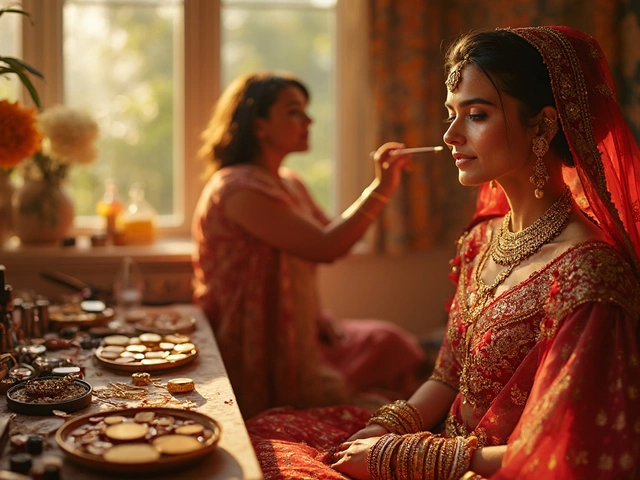
Dreaming of a flawless look on your wedding day but feeling overwhelmed by the endless tutorials? This guide walks you through every move you need, from prepping skin to locking the finish, so even a total beginner can nail a stunning bridal makeup that lasts all night.
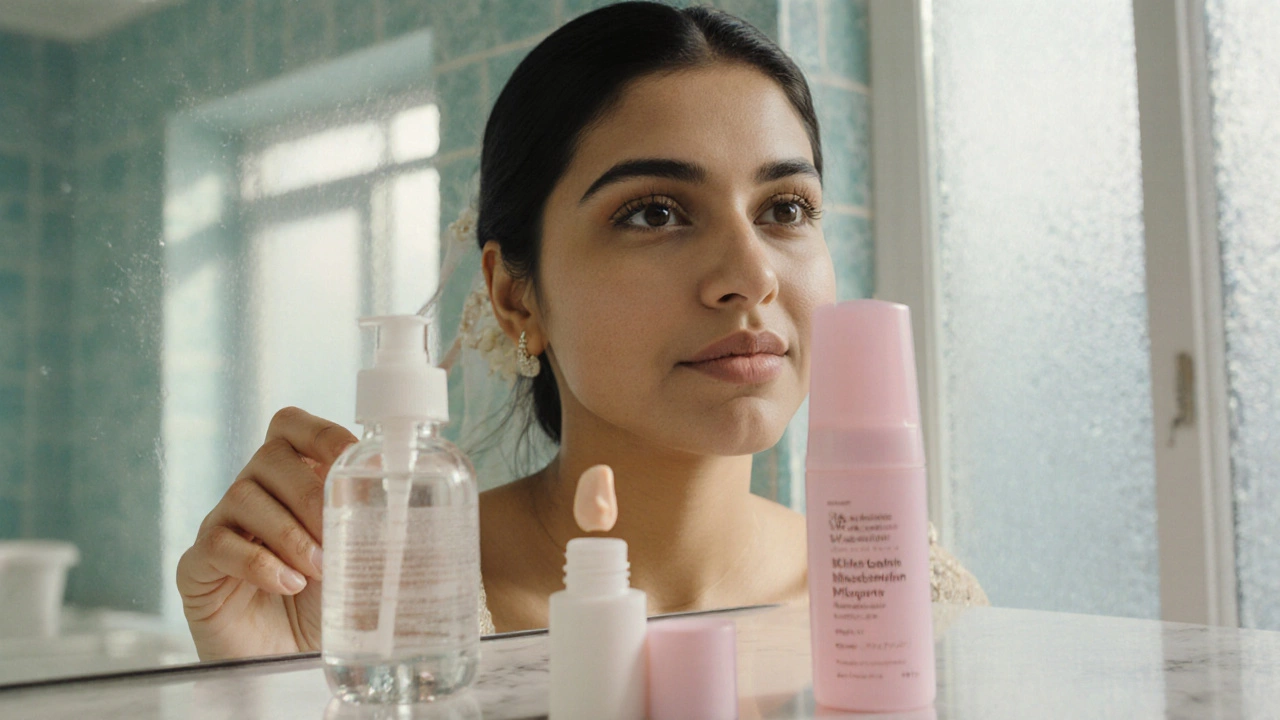
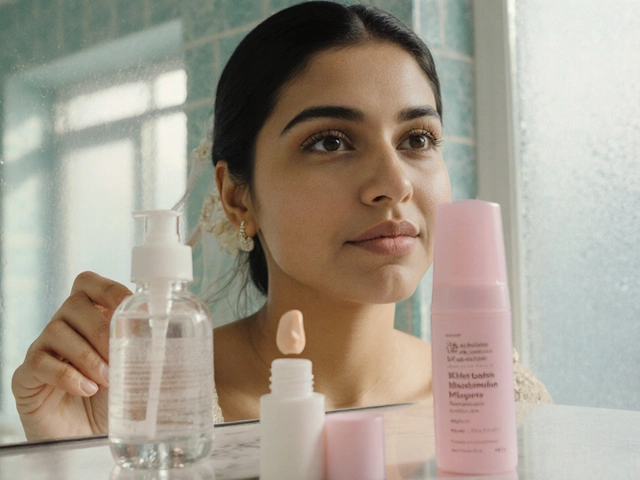
Quick prep: why skin care beats makeup miracles
Before any product touches your face, think of skin as the canvas. A well‑hydrated, balanced base reduces the amount of foundation you need and prevents caking. Start with a gentle cleanser, follow with a lightweight moisturizer, and let it sink in for at least five minutes. If you have oily zones, a mattifying primer on the T‑zone will keep shine at bay.
Bridal makeup is the art of creating a polished, photogenic look for a bride on her wedding day, blending longevity with elegance.Step 1: Prime the canvas
- Choose a silicone‑based primer for oily skin or a dewy primer for dry skin.
- Apply a pea‑sized amount with a flat brush, focusing on pores and fine lines.
- Let it set for 30 seconds before moving on.
Step 2: Build a flawless base
For beginners, liquid foundation offers the easiest blend. Pick a shade that matches your jawline; the neck may be slightly lighter. Use a dense foundation brush or a damp beauty sponge, starting at the centre of the face and blending outward. Follow with a thin layer of concealer under the eyes and on any blemishes, then gently tap it out.
Step 3: Set the base without a cakey finish
Lightly dust translucent setting powder on the O‑zone (forehead, nose, chin). A fluffy brush prevents over‑application. For a natural glow, press a minimal amount of loose powder onto the cheeks using a tap‑and‑press motion.
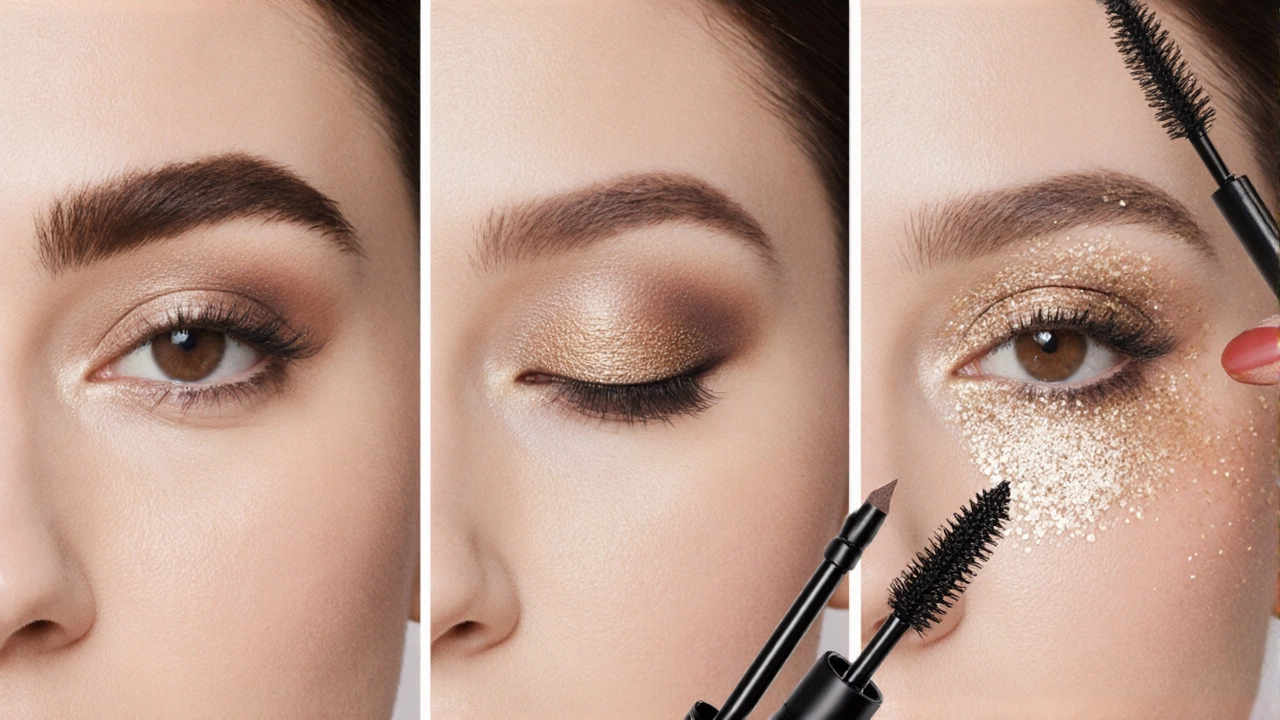
Step 4: Define the eyes
- Start with a neutral transition shade applied to the crease using a soft blending brush.
- Deepen the outer V with a medium‑toned matte shade; keep the inner corner light for lift.
- Apply a shimmer or satin shade on the lid for bridal sparkle.
- Line the upper lash line with a thin brown or black liquid liner, keeping the line as close to the lashes as possible.
- Finish with two coats of waterproof mascara; focus on the outer lashes for an almond shape.
Step 5: Perfect the brows
Well‑shaped brows frame the face and keep the eye look balanced. Use a brow pencil that matches your hair colour, lightly filling in sparse areas with short strokes. Sweep a clear brow gel for a polished finish.
Step 6: Add a healthy flush
Choose a cream blush that mirrors your natural cheek colour-soft pinks work for most skin tones. Swipe it onto the apples of the cheeks and blend upward toward the temples. This technique keeps the colour dewy and camera‑ready.
Step 7: Highlight and contour for dimension
Contouring isn’t about heavy sculpting; a subtle shade a couple of tones darker than your skin placed under the cheekbones, jawline, and sides of the nose creates depth. Blend with a clean brush until no lines remain. Then, apply a pearl‑infused highlighter to the high points: cheekbones, bridge of the nose, cupid’s bow, and the inner brow bone.
Step 8: Lip preparation and colour
Exfoliate lips with a sugar scrub, then moisturise with a balm. For long‑lasting colour, line the lips with a matching lip liner, fill in with a matte or satin lipstick, and blot with a tissue. Top with a thin layer of translucent lip gloss for a soft sheen that won’t smear.

Step 9: Lock everything in
A mist of setting spray sprayed from a distance of 12‑18 inches locks the makeup for up to 12 hours. Hold the bottle for about 30 seconds, allowing the fine mist to settle before stepping away.
Pro tips & common pitfalls
- Test products early. Do a full trial at least two weeks before the wedding to check for reactions and wear time.
- Keep your brush set clean-dirty brushes can create streaks and break down pigments.
- Avoid heavy layers on the lids; they can cause creasing later in the day.
- Carry a mini touch‑up kit (blotting papers, a tiny powder puff, and lip colour) for quick fixes.
- Remember lighting: natural daylight will show true colour, while indoor candlelight can make shades appear warmer.
Classic vs. Modern bridal looks
| Feature | Classic | Modern |
|---|---|---|
| Finish | Soft matte with subtle glow | Radiant dewy with luminous highlights |
| Eye focus | Neutral browns, thin liner | Smoky neutrals or soft metallics, winged liner |
| Lip colour | Classic rose or nude | Bold berry or muted mauve with glossy finish |
| Contour | Light sculpting, subtle | More pronounced, shaping cheekbones |
| Ideal bride | Traditional, vintage‑inspired ceremonies | Fashion‑forward, destination weddings |
Mini FAQ
How long should bridal makeup last?
With a good primer, waterproof formulas, and a setting spray, most bridal looks stay fresh for 10‑12 hours, even in humid conditions.
Can I do my own bridal makeup?
Absolutely. Follow a practice schedule, start with simple looks, and upgrade to more intricate techniques as you gain confidence.
What’s the best way to prevent makeup creasing on eyes?
Apply a silicone‑based eye primer, use matte eyeshadows, and keep the lid skin moisturised but not oily. Finish with a waterproof mascara.
Should I match my makeup to my dress colour?
Yes, subtle coordination helps the overall palette. If your dress is ivory, warm nude lips and peachy blush look harmonious; for a bold coloured dress, a classic lip keeps focus on the face.
How can I keep my makeup fresh during tears?
Use long‑wear, tear‑resistant formulas, especially for eye makeup. Carry blotting papers and a small powder puff to dab any wet spots without smudging.
Releted Post
22 Oct 2025

Mara Eldridge
I am a wedding services coordinator with a passion for helping couples create memorable celebrations. My expertise lies in sourcing the best venues, vendors, and accessories to bring each couple's vision to life. I enjoy sharing insights and tips on wedding-related topics, aiming to inspire those who are planning their big day. My writing combines practical advice with creative ideas to suit all styles and budgets.
Comments
Post Comment